Showing posts with label Crafts. Show all posts

October 29, 2012

halloween peg dolls

This was my first attempt at peg dolls after seeing a few around on the interwebs. Originally I wanted to use them to make Ella a kid friendly nativity for Christmas (which is only 2 months away, eek!). After doing some research on peg dolls, I decided I should try my hand at something less detailed then the three wise men and baby Jesus. It would be a shame to mess up baby Jesus on my first try, don't ya think?

I stumbled upon this great blogger and her awesome walkthrough on the basics of painting peg dolls while doing my research.  I knew nothing of how to get started with these little pegs, so a big thanks goes out to her lovely tutorial on how to get started with halloween peg dolls.

I ordered my wooden peg dolls from Hobby Lobby online. I used the 2 5/16 inch" Birch Man peg for these. They also sell a smaller 1 11/16" Birch Boy which I ordered to use for baby Jesus. 
As you can see Ella loves them. They're just the perfect size for her tiny hands.
This little guy is my favorite. His pointy little teeth and cape, so cute. Very Twilight-esque if you ask me. Hm, Twilight themed pegs....I could be onto something. 
The great thing about pegs are that you can decide how much detail you want to add to them. I added some stitches to Frankenstein and a drip of blood to Mr. Vampire. Feel free to go all out or keep them simple and plain. This being my first time, I kept them fairly simple.

I used regular old cheap Folk Art craft paints. After everything was good and dry (I let them dry overnight after they were all finished) I sealed them with 3 coats of Modge Podge Hardcoat. I wanted then to stand up to the heavy wear and tear of 2.5 year olds.
These have opened a door wide open! I've already had about 30 ideas for other peg dolls, and have started working on Ella's nativity. I will warn you, they can be a little time consuming depending on your level of perfectionism, but the end product is SO worth it!

August 20, 2012

felt food making-bacon

Its been a while since I've shared another of the items in Ella's felt food collection, but since we had bacon wrapped jalapenos poppers (with jalapenos from our garden) last night, I thought it was appropriate to share the felt version.

It was a very simple one to make. Two 6 inch dark red pieces of felt with curvy sides sewn together and two white wavy stripes of felt sewn on top. Voila! Bacon without all the calories!


To see more felt food click below:

April 16, 2012

felt food making-waffles + pancakes

Here's our first breakfast addition to the felt food collection, waffles and pancakes! The waffles were just squares of felt with batting in between sewn together. I went back and sewed squares in the middle to show the pockets real waffles have. If you're interested in how I made the pancakes (complete with butter pats a top) check out this great tutorial, I used the same method. 

To see more felt food click below:

April 6, 2012

felt food making-peel-able banana

Here it is, piece #3, a fancy peel-able banana!
 I found a great tutorial for this piece over at the blog Just Stuff. It's always the piece that I get the most comments on. "Oh, a banana! And look it comes out of the peel!" Its the little things, I guess? ;) You can also use this same method for making a corn in it's husk. 

To see more felt food click below:

March 15, 2012

felt food making-watermelon

Here it is...felt food #2...Watermelon!  It's large, about 10" long, and was fun to make. I hand stitched the seeds with embroidery floss, and stuffed it with poly fill. 
To see more felt food click below:
Strawberries

March 13, 2012

felt food making-strawberries

Last summer I had a grand idea to make a few pieces of felt food a week for Ella. I was hoping that by Christmas I'd have a rather large selection to give to her along with the play kitchen we made for her (more on that project later). So I started making felt food. LOTS of it. I managed to take pictures of ALL of it, so I'll share one food at a time. 
It was a lot of work, but very much worth it. Ella loves to play with it, and I'm hoping that these will hold up to pass down to the next kid (whenever that it) and maybe even their kids!

First up, and perhaps my favorite of the bunch...Strawberries!
If you're interested in making your own felt food I'd suggest Googleing it. There are a million patterns for great felt foods.

December 5, 2011

mason jar snow globe part 1

Oh Anthropologie. You are my most favorite store ever in the history of retail shopping. Since I started shopping at you 8 years ago you have both brought me joy and pain while filling my closet and emptying my wallet. Every year at every gift giving holiday (Christmas, birthday, anniversary, Valentines Day) since i've been married all i've ever asked for are gift cards to you. You make shopping for me very easy. 

While browsing recently I saw these. Immensely charming and expensive. I've decided to try and knock off the design. I mean its really only small trees, mason jars, glitter and fake snow right? (I'm still working out exactly where to get that fake snow stuff).
Well, good news is they're coming along! I borrowed 2 mason jars from Travis' BBQ sauce making side job (yes my husband makes his own BBQ sauce and sells it as a hobby, it's really good stuff!). 
The small trees I picked up at the thrift store for .50 cents a piece. They are almost the perfect size and with a little glitter on them I think they may do the job. They're not done yet, but I think they'll turn out super cute! And for less than $1.00 a piece I can't complain. The medium sized Anthropologie jars are $30.00, yes THIRTY dollars each. Craziness!
Come back and see the finished product soon!

November 3, 2011

pumpkin painting

I know Halloween is over but on Halloween Eve we decorated our pumpkins, I thought I'd share them with you guys anyways. Hmmm...I wonder who's is who's?
Mama's
Ella June's
Daddy's
And believe it or not they survived the holiday un-smashed! That means we'll get to enjoy them for another week or so before the rain comes to turn them into moldy pumpkin slush, yay!

April 21, 2011

{crepe paper wreath}

I'm a thrift store junkie, but a very particular one. I hate buying low quality things just because they're cheap. If I could have it my way (and afford it) i'd spend the money on high quality items once and cherish them for years. I'm the same way with clothing. For that reason, I frequent the thrift store often, if you go often then you can get the good expensive stuff before someone else snatches it up.

Anyways, during one recent trip to the thrift store I came across a TON of crepe paper, and for cheap. I know it's not a particularly expensive item but at a quarter a package I couldn't pass up grabbing a few to keep in the craft stash. 

I started browsing for crepe paper projects and look at all the fun things you can do with crepe paper!

Adorne packages
{tutorial here}

Adorne notecards (love this)
{tutorial here}

Ruffle & Ribbon (love this too!)
{tutorial here}

Crepe Paper Medallions (possibly my fav)
{tutorial here}

Rose Topiary/Ball
{photo credit}

Rose Wreath
{photo credit}
{original tutorial here}

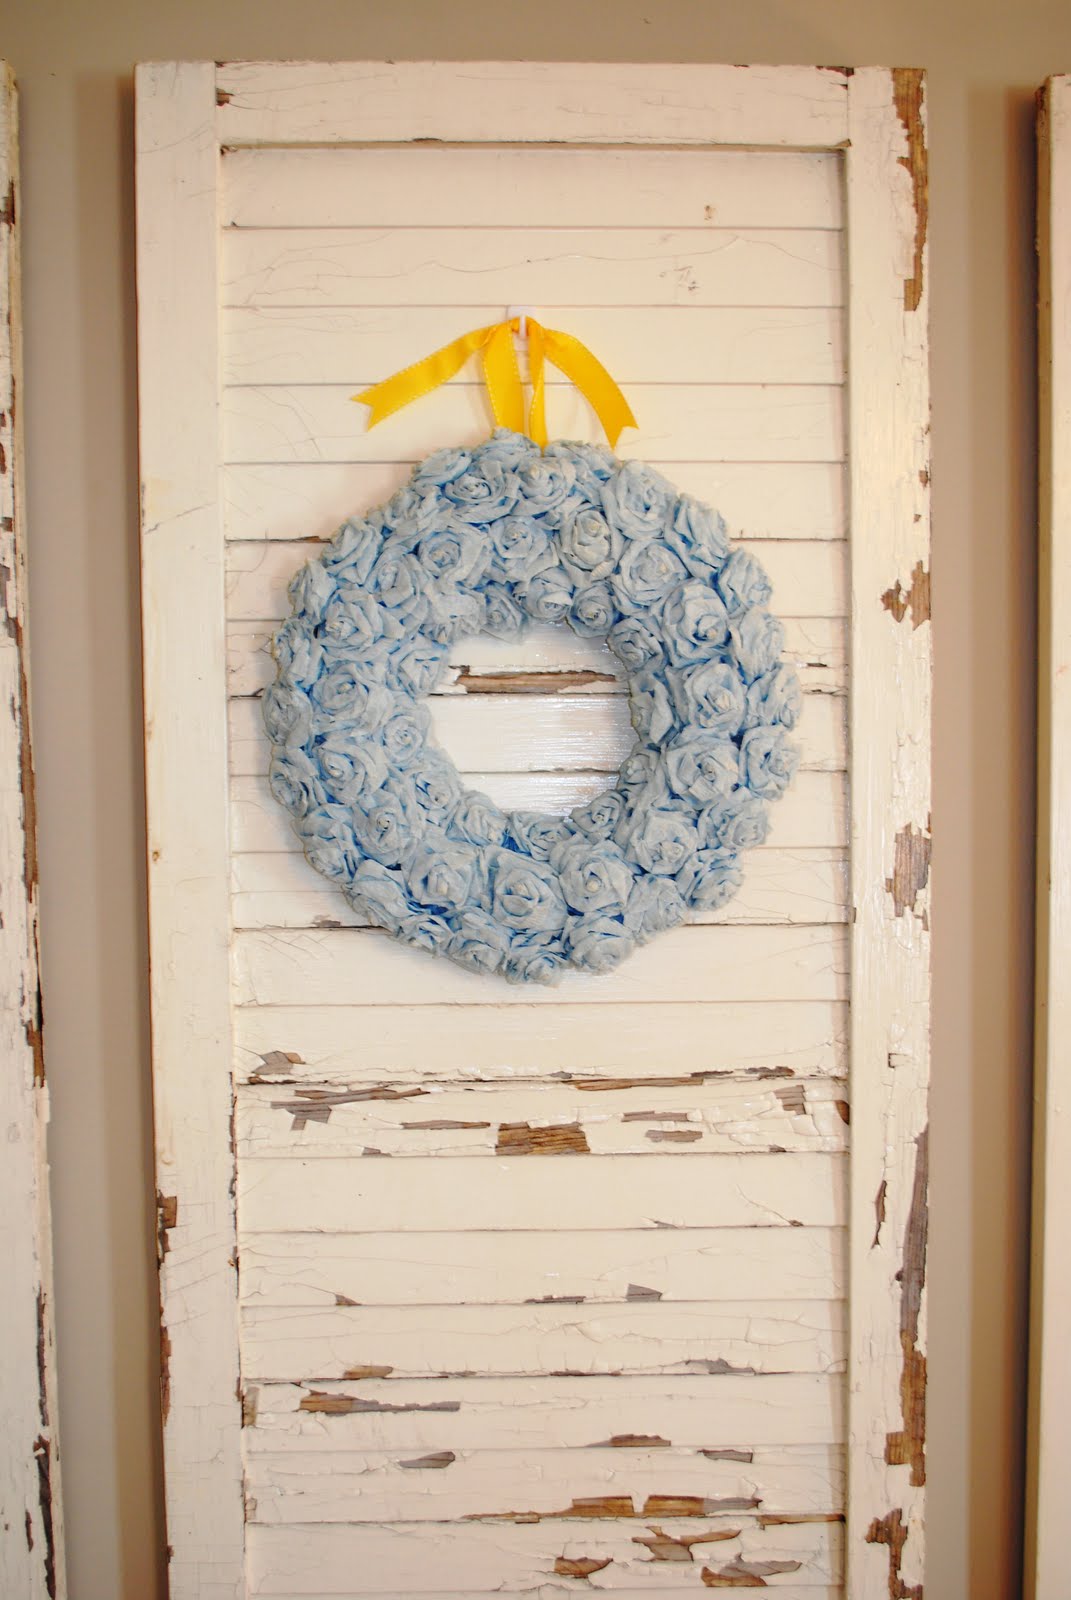
Ok, so I whipped out two packages of yellow and started making dozens of the paper rosettes. I used BOTH packages of crepe paper and didn't even cover the whole wreath. I definitely wanted it to be fuller like in the blue wreath photo above, but it'll have to do until I can find the same color paper somewhere else. It's really pretty in real life, has an amazing textural quality and is a perfect project for spring. 

I decided to put it in Ella's nursery on her dresser. Next to her mini chalkboard (you'll see project another day) and a little birdie from Anthropologie, which is actually a doorstop. So cute huh? Since I have a few packages left, I think I'll try my hand at the medallions next. It'll be perfect for my bestie (the bride to be) at her wedding shower this weekend.


That black shelf is going to get a makeover soon, it sticks out like a sore thumb. 
Try making one, and come back and leave a link in the comment section, i'd love to see it on your blog, or in your home!

November 5, 2010

{props props and more props}

You're probably asking what that hideous styrofoam head is doing below. I picked it up at a garage sale for free over a year ago. It made it's way over 300 miles during our move earlier this summer, {try explaining to your husband why you must have the styrofoam head come with you, ha!}, and I knew i'd have a use for it eventually. 

With the boutique i'm a part of coming up, I immediately thought that this would be great for modeling my hair clips and headbands on my table. I had some pink tissue paper {just plain tissue for gift bags} lying around and my trusty Mod Podged, so I made like I was 5 years old again doing paper mache, and covered my styrofoam head. 
Please excuse the horrible 'before' photo, it was dark, gloomy and raining when I took this. Bad natural light means a crummy photo, but it was amazing weather!
What a transformation! Slightly shiny, new, bright, cheery, and most importantly useful. Can you tell that these two photos {'after' and 'in action'} we're taken on the day following the storm? Sunny skies, good natural light, much nicer photos. :)
Here it is modeling one of my Junebug Headbands. It's perfect! I'll be sure to post a pic of it in my table display next month. 

October 28, 2010

{diy fabric cake stand}

Hello! I'm really excited about this next project. The only bad thing is that I didn't take pictures along the way to give you all a tutorial. Boo. I'll have to do another one and let you all see the process. 

Cake stands are expensive! But it turns out they don't have to be. In fact this one cost me less than three dollars (considering I already had the fabric and Mod Podge). 

I picked up two small plates at the thrift store for .99 cents and .79 cents, and the crystal piece in the middle, thats a candle stick and it cost me .99 cents as well. The bottom plate is slightly larger than the top plate, as I wanted the tiered effect. 

Basically the method was: I cut my fabric to size and used hard coat Mod Podge to adhere it to the plate. Then I used really really really strong glue to attach the crystal candle stick to both plates (turned upside down, this means the bottom of the candlestick is glued to the bottom of the top plate). 

I let the glue cure overnight, and there you have yourself the cutest cupcake/whatever you'd like it to be stand. (I'm not 100% sure if Mod Podge is non toxic, so use caution when placing food directly in contact with the plate's surfaces). I'll be using this one as part of my table display to hold hair clips at an upcoming boutique. It would also be darling as a catch all for jewelry. The possibilities for fabric combos and themes are really endless with this project. And they are so cheap to make that they'd be great additions to parties. Say...Alice in Wonderland?

October 26, 2010

{"e is for ella"- making my own jewelry}

So at my weekly MOPS {"mothers of preschoolers"} group we do a craft and this week we made necklaces. We also had the option of buying our own metal stamping kit, and we all know I couldn't pass that offer up! We stamped metal washers from the hardware store and while that was fun, it wasn't enough for me. I swung by my local bead shop and got a few metal stamping rounds made for jewelry {I rarely wear jewelry from the hardware store these days :) }.
I already had a small "E" charm necklace that I wear representing Ella, and decided to marry the two together. So, I went stamping away with Ella June's name. {*Stamping on metal takes a little practice, so if you do try it make sure you do a few trial runs before stamping on your good charms and disks.} Then I attached the stamped round and "E" charm to a jump ring and the chain.
It turned out so well that as soon as I shared it among friends I had several requests for other personalized ones. Metal stamping is really great fun, not to mention a good stress reliever.

If you're interested in metal stamping check out the Beaducation website. They have video tutorials that are really helpful, and an amazing selection of metal stamping tools.

October 15, 2010

{baby bear beanie}

OMG! I just want to eat her up! Sigh, she's the CUTEST thing ever, my Ella June that is. And add a handmade beanie with ears to it, and the cuteness level is off the charts. I'm longing for Falls cool crisp air, dewey mornings, and short days, but it seems that since we've moved from Northern California to Southern California this past summer, that I may not be enjoying my favorite time of the year so soon. Nevertheless, I got to crocheting some baby beanies for Ella in hopes that the weather will soon change and we'll actually be able to wear them outside of the currently air-conditioned house.
The picture above shows the beanie without the buttons in the ears, and below, with them. I think I'll add them on.
Here is a HDC beanie without ears. I clipped one of her flower hair clips on to it. That's the great thing about hair clips. You can clip them to almost anything and it instantly changes the item.
Again, as soon as I shared them among friends I had several requests for them. I'm currently working on a brown one w/ ears, and a pink w/ears, as well as a special request from a friend for a black one w/ larger ears for her daughter for their upcoming trip to Disneyland. She wants her to have the coveted Mickey ears hat, but since they're going in the winter, the "Mickey Ears Beanie" will serve to both keep her little one warm and celebrate the trip. What a great idea! I'm wondering if I should put a few in the shop? What do you think?

March 24, 2010

{Guy Made Nursery Mobile}

Look at this mobile....don't you just love it?! A mass of crisp white butterflies floating in suspended air? Ahhh...yes. It's gorgeous...and expensive...It's from Pottery Barn Kids. Travis and I saw it one day while window shopping (a favorite past time of ours) but couldn't justify spending the $75+ dollars on it for Ella's nursery.

Travis had been wanting to do a project of his own (what a sweet guy) to contribute to the nursery. Perhaps all my crafting and incessant project doing surrounding the nursery the last 8 months was wearing off a little on him. He snapped a few pics on his iPhone and proceeded to pick my brain about what materials he would need and what construction methods would work best for creating his own version. This is what he came up with...
Metal wreath form, spray painted white, clear fishing line, a 1.5" flower craft punch, white card stock, craft glue, and a hot glue gun. It was a simple project to do, and he completed it in one evening in front of the TV. I think the effect is the same and it looks SOOOO cute hanging in the corner in her room.
Didn't he do a great job? Gosh I love him.....