Showing posts with label Paper. Show all posts

April 21, 2011

{crepe paper wreath}

I'm a thrift store junkie, but a very particular one. I hate buying low quality things just because they're cheap. If I could have it my way (and afford it) i'd spend the money on high quality items once and cherish them for years. I'm the same way with clothing. For that reason, I frequent the thrift store often, if you go often then you can get the good expensive stuff before someone else snatches it up.

Anyways, during one recent trip to the thrift store I came across a TON of crepe paper, and for cheap. I know it's not a particularly expensive item but at a quarter a package I couldn't pass up grabbing a few to keep in the craft stash. 

I started browsing for crepe paper projects and look at all the fun things you can do with crepe paper!

Adorne packages
{tutorial here}

Adorne notecards (love this)
{tutorial here}

Ruffle & Ribbon (love this too!)
{tutorial here}

Crepe Paper Medallions (possibly my fav)
{tutorial here}

Rose Topiary/Ball
{photo credit}

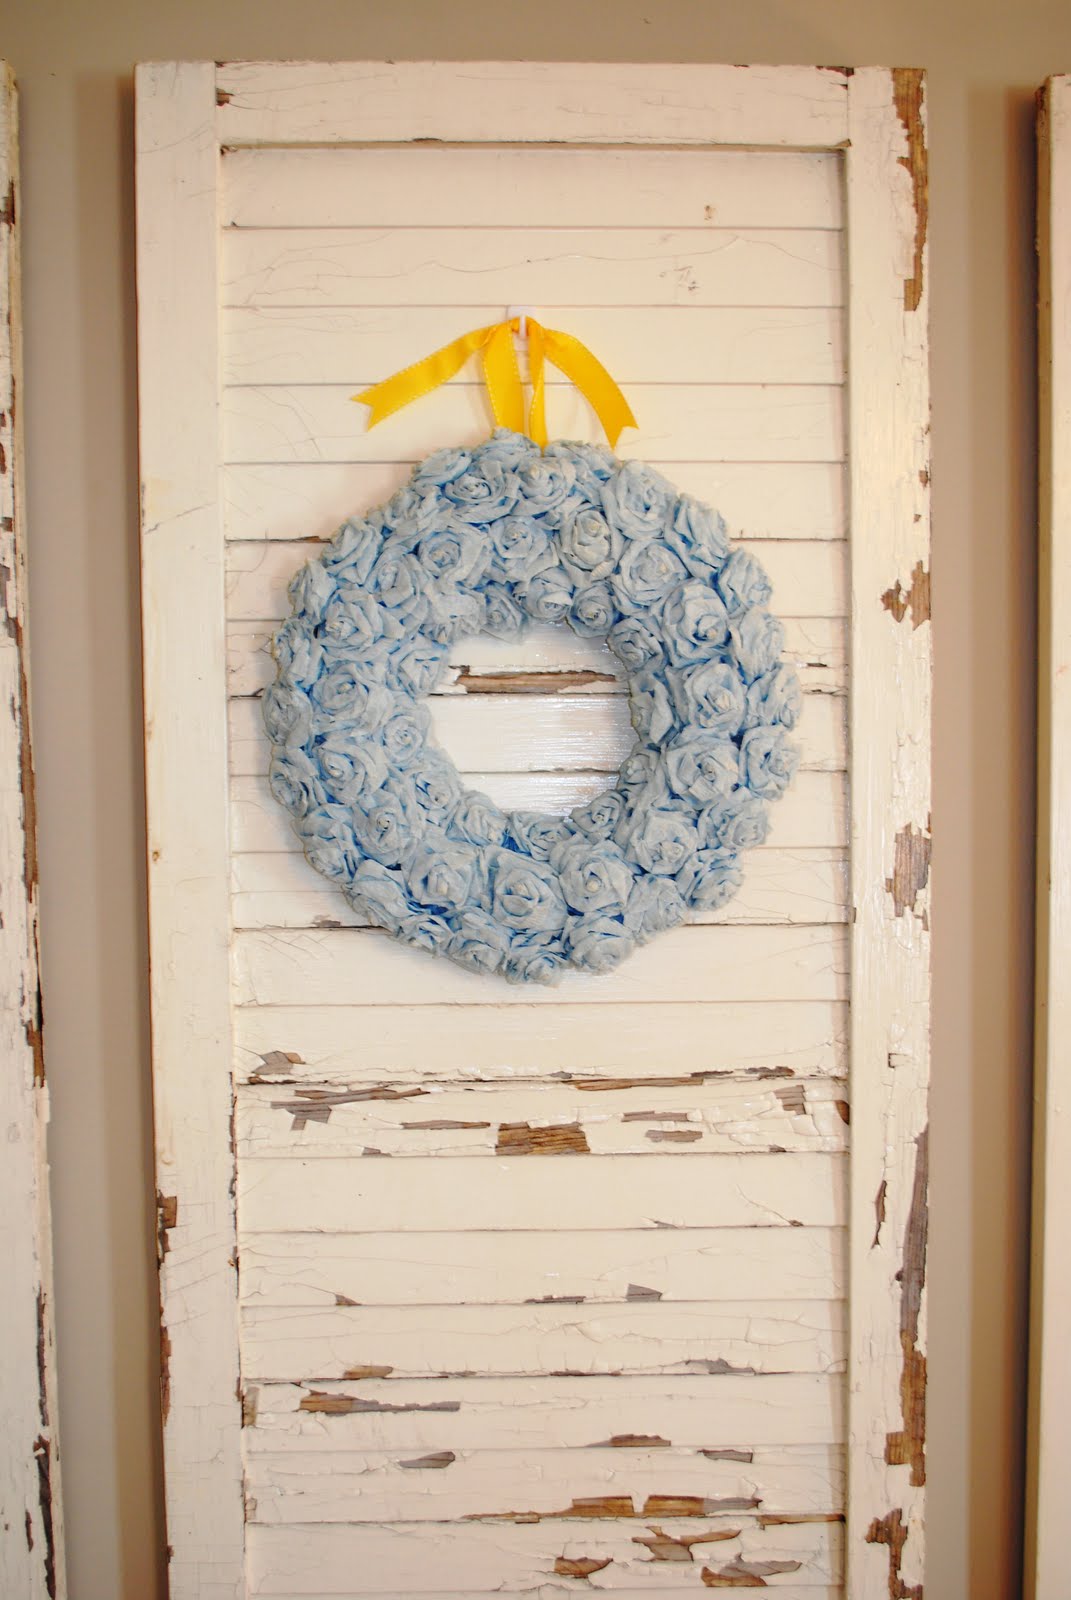
Rose Wreath
{photo credit}
{original tutorial here}

Ok, so I whipped out two packages of yellow and started making dozens of the paper rosettes. I used BOTH packages of crepe paper and didn't even cover the whole wreath. I definitely wanted it to be fuller like in the blue wreath photo above, but it'll have to do until I can find the same color paper somewhere else. It's really pretty in real life, has an amazing textural quality and is a perfect project for spring. 

I decided to put it in Ella's nursery on her dresser. Next to her mini chalkboard (you'll see project another day) and a little birdie from Anthropologie, which is actually a doorstop. So cute huh? Since I have a few packages left, I think I'll try my hand at the medallions next. It'll be perfect for my bestie (the bride to be) at her wedding shower this weekend.


That black shelf is going to get a makeover soon, it sticks out like a sore thumb. 
Try making one, and come back and leave a link in the comment section, i'd love to see it on your blog, or in your home!

April 20, 2011

{ruffled stationary}

How is everyone's week been? Hopefully great so far. Just wanted to share with you guys a new item in my shop! Ruffle Stationary! Folded notecards adorned with a fun sewn on ruffle. Each pack comes with 5 note cards & envelopes. Perfect for gift giving and snail mail! You can see them in my shop HERE.


October 27, 2010

{cowboy birthday part 1: invitations}

This is the first post in a series dedicated to the cowboy themed birthday party. A friend of mine mentioned that she is thinking about doing a western/cowboy theme for her son's first birthday, and I couldn't help but do some digging into some fun themed party items. Hopefully this gets the ideas flowing, so here we go! First off we'll do invitations. Here are the top three I liked:


Fun stuff huh? My fav is number 3. I think its the faux bois background {I just love anything faux bois}. Next up I'll be sharing my finds for items related to food, yum!

March 24, 2010

{Guy Made Nursery Mobile}

Look at this mobile....don't you just love it?! A mass of crisp white butterflies floating in suspended air? Ahhh...yes. It's gorgeous...and expensive...It's from Pottery Barn Kids. Travis and I saw it one day while window shopping (a favorite past time of ours) but couldn't justify spending the $75+ dollars on it for Ella's nursery.

Travis had been wanting to do a project of his own (what a sweet guy) to contribute to the nursery. Perhaps all my crafting and incessant project doing surrounding the nursery the last 8 months was wearing off a little on him. He snapped a few pics on his iPhone and proceeded to pick my brain about what materials he would need and what construction methods would work best for creating his own version. This is what he came up with...
Metal wreath form, spray painted white, clear fishing line, a 1.5" flower craft punch, white card stock, craft glue, and a hot glue gun. It was a simple project to do, and he completed it in one evening in front of the TV. I think the effect is the same and it looks SOOOO cute hanging in the corner in her room.
Didn't he do a great job? Gosh I love him.....

October 12, 2008

{Skeleton Garland}

Oh, Halloween is fast approaching and I am well under way making things to spook stuff up a little. This skeleton garland is adapted from this invitation project and I must say I like it better this way. This small army of dancing bones hanging from a bookshelf or doorway will most certainly add charm to your days leading up to October 31st. 

The printout is glued to black card stock then cut out with detailed precision. Small brads affix the arms and legs to the body, but allow for movement of the skeletons. I finished by threading them through some brown and white spun bakers twine. You can make as many as you see fit for your garland. 

September 21, 2008

{Ruby}


A good friend of mine and his adorable wife are about to have their first baby! They decided on Ruby as the name, and as a gift I made them a custom set of baby blocks. 

After they were done, I packaged them with pink paper flowers, striped string, and cloud tissue paper over laid with wax paper. They turned out adorable and I can't wait for little Ruby to see them!