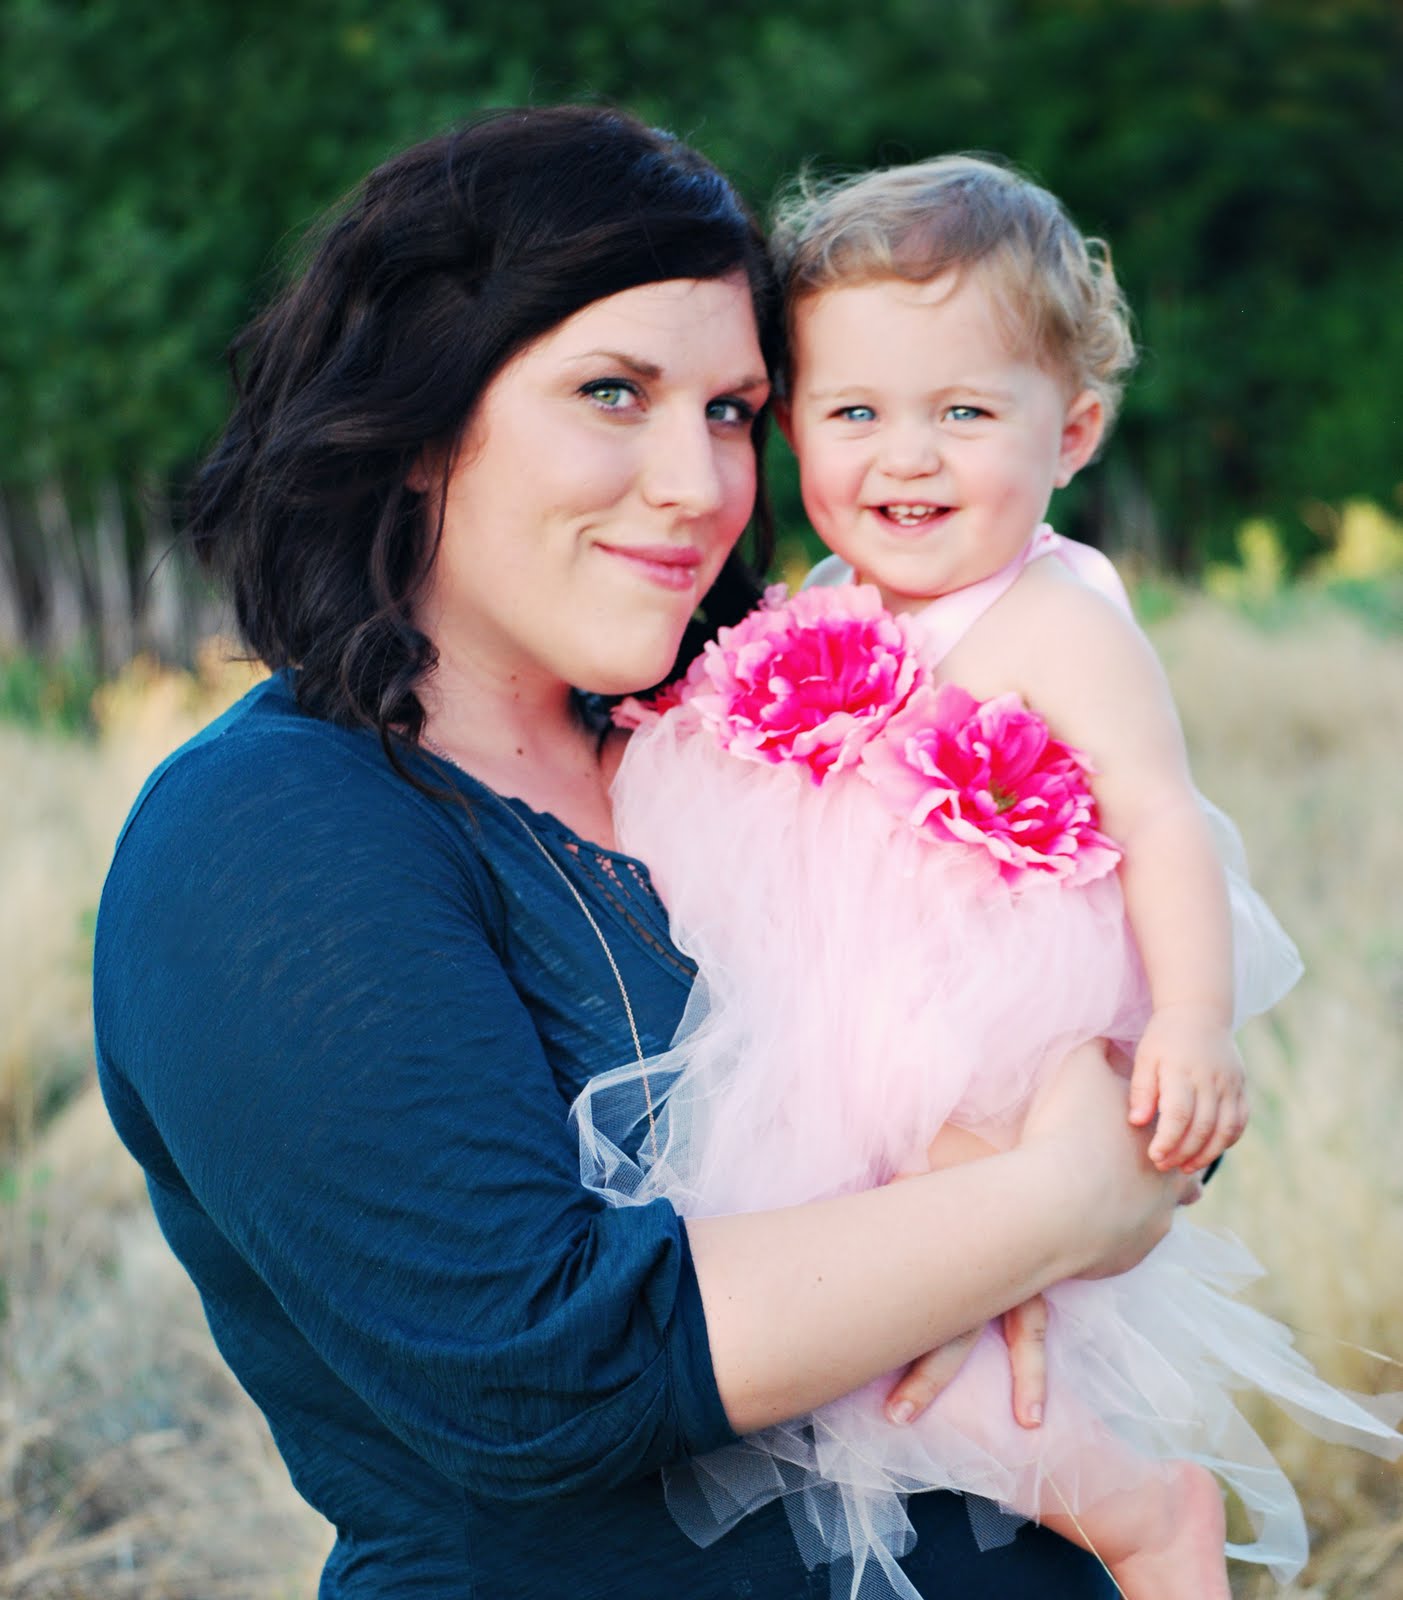
Below is a a super sweet idea I got from Pinterest (of course, right?!). I just took one of the pictures from her one year photo shoot and using Photoshop I added a short description of Ella's likes/dislikes at age 1. Click on the picture to get it full sized for a better look at the text. What a great way to remember all the little things about each age, and a fun way to look back and see how much our little ones change.
July 14, 2011
July 13, 2011
{sewing for others- the color keeper}
Man, July is one VERY busy month as far as birthdays are concerned. Family alone we have 3 (including mine!!) and there are numerous friends who's birthday's fall this month as well. For a very special three year old friend (Happy Birthday Zoie!) I sewed up a special birthday gift. I call it the Color Keeper! This special tote holds 2 coloring books and 22 crayons for easy toting around and safe crayon keeping. Take a look:
I drafted my own pattern for this project, really I just winged the measurements from a standard coloring book, adding seam allowances, crayon pockets, and handles. Overall, it was an easy project and didn't give me any headaches (rarely does that happen when I'm working without a pattern!)
I put two pearl snaps on each top corner to keep the tote closed. Originally, I wanted to use velcro but I was a little short on my measuring and my seam allowances so there wasn't enough room for a velcro strip, instead I opted for the snaps, which work great!
22 individual pockets for crayons, and two larger pockets (one on each side) for coloring books.
I put two sturdy, double re-inforced handles on it for easy carrying, and I think it just turned out so darling! I hope the birthday girl likes it!
July 5, 2011
{Ella's 1 Year Portraits}
This post is going to be picture heavy, but the cuteness overload will be worth it. :) I recently took Ella June's 1 year portraits. I wanted to go for classic, simple, and outdoors. At my baby shower I received a beautiful halter tutu dress made by Christa from Mustard Seed Fabric & Furniture which I knew that I'd be photographing Ella in it for her 1 year pics.
While I did minor in Fine Art Photography in college, i'm no professional photographer. It's always just been a fun hobby for me. In case anyone is curious, I used a Nikon D60 camera for these photos, and they were post processed in Photoshop using Florabella actions.
![]() |
| Daddy and Ella. |
Isn't she a beauty? Gosh, every day I thank God for her. She really is the most precious child.
Oh, and here's one that dad took during out shoot.
Mama and Ella June.
July 2, 2011
{Big Top Circus Themed Birthday Invitation}
Just wanted to share another invite I designed recently for a circus themed birthday party. Isn't it cute? If you're interested in using the design for a party of your own contact me via email {abstractgraceinfo@gmail.com} and I can personalize it for you for $5.00 {via paypal}. You can view other invites I've designed here and here.
Happy Saturday!
![]() |
| All names, dates, times, numbers, and addresses have been changed, so don't try crashing the party. :) |
July 1, 2011
{4th of July Pin Tutorial}
Today I have a fun tutorial to share with you, just in time for this weekend's holiday. It's the "4th of July Pin" tutorial, and it's so easy they're no excuses not to make one.
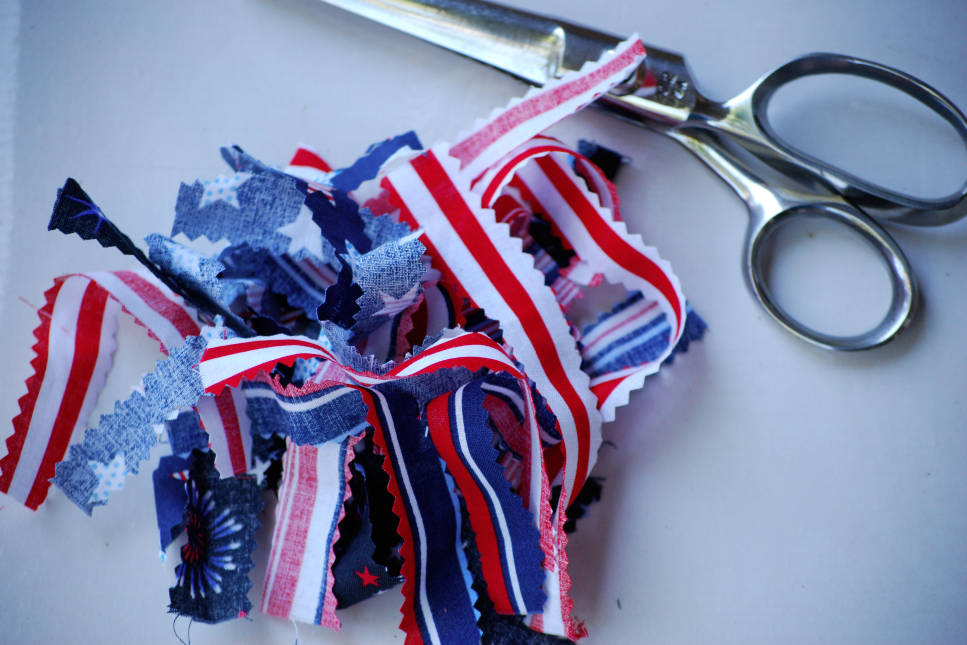
Step 1: Cut out strips of fabric approx 1/2 inch wide. There is no real exact science to this, so if some are wider or narrower, no big deal. I used 4 different 4th of July themed fabrics, but you could use just one or two. Use whatever you have on hand.
Note: I used pinking shears to cut my strips, but you can use regular if you'd like. Pinking shears help keep the fabric from fraying, but I've done this with regular scissors and the pin actually looks really cute with slightly frayed edges.
After you cut out your pieces you'll have a big pile of strips. I cut 5 strips from each of my fabrics, for a total of 20 strips, so if you're using just one then cut 20, 2 fabrics cut 10 of each, etc...
Step 2: Pinch the center of your strip and sew with a needle and thread through the fold, as pictured above. Just keep folding your fabrics and putting them on your needle. You'll have a big bunch of fabrics on your needle like the picture below. (Click on the pic, and if you look closely in the middle you'll see the needle.)
Push the needle back and forth through the center of the fabric bunch a few times to really secure them all together. Knot off your thread.
Step 3: Use hot glue to affix a pin back to the back of your pin.
Now flip over and admire your work, you're done!
I do have to give a big thank you to Christa from Mustard Seed Fabric & Furniture for sharing how to make these with me. She sported one at our Thursday Night Market last week, and was kind enough to give me the details on how she made it. Thanks Christa!
June 30, 2011
{4th of July Wreath}
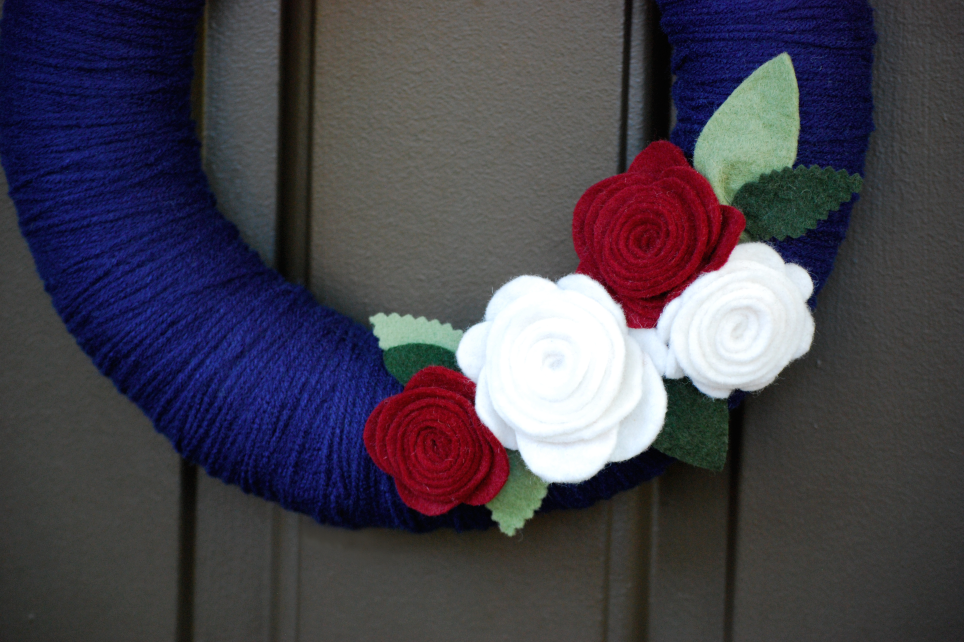
The Fourth of July is one of my FAVORITE holidays. I love the hot summer nights, the fireworks, grill outs, and everyones generally happy, laid back moods. Since we've moved back into an apartment I've been struggling to find creative ways to put my own stamp on the place. Painting is out of the question, and I'm limited on space, so accessories are my go to decor. You may remember the crepe paper wreath I made, it hung on our front door until recently when it was replaced with this beauty...
I wanted something that was 4th of July-ish, without being overly 4th of July-ish (if that makes sense). I envisioned using red, white, and blue, but in more muted tones, and not in the traditional stars and stripes fashion.
Here's how I made it:
I bought a wreath form from Michael's, and wrapped it in navy yarn. I'm not gonna lie, wrapping it completely so that none of the styrofoam shows is kind of a monotonous process. Every few inches I used a hot glue gun to tack the yarn down. After everything was sufficiently covered then I made a few flowers out of red and white felt and hot glued them to the wreath. I just eyeballed their placement, and glued them where I thought they looked best. I also cut a few green leaves out of felt and glued them under the flowers. I used regular scissors and pinking shears on the leaves to add a bit of dimension to the whole thing. That's it! Easy, easy, easy!
The pictures don't do it justice, it's really a pretty wreath, and looks great on our door, and adds just the right amount of festiveness. I'll be leaving it up the whole month of July, and am already brainstorming the next one i'll make for late summer/early fall.
June 13, 2011
{my side hobby-invitation design}
| I'm excited to show you all some things I've been working on and never mentioned before. A few weeks back I showed you the ladybug invitation I designed for Ella's 1st birthday, and promised I'd share some other's I've done. I love designing invitations and have had a few friends ask if I could design for their parties and showers. It's become a really fun hobby lately. Below are a some of the invitations I've designed recently. ![]() |
| Cinderella themed 4th birthday party. |
![]() |
| Blue/yellow bird themed bridal shower. |
![]() |
| Minnie mouse birthday party! |
![]() |
| Owl themed baby shower. |
![]() |
| Pinwheel themed birthday party. Option #1 (she chose this option) |
June 12, 2011
{my week -in photos-}
| My HIGEST SCORE EVER!!! |
| Some hair goodies, sent to a friend's little one for her 3rd birthday. |
| Our booth at the Thursday Night Market in Old Folsom, first week was a HUGE success! |
| Booth display |
| Booth display |
| Aren't those dresses darling? |
| Her first pedicure w/ mama. |
June 11, 2011
{Thursday Night Markets}
I've been working hard the last few months getting ready to have a booth at the Thursday Night Market in Old Folsom. My friend Christa (we've been BFF's since 2nd grade) has a darling small business called The Mustard Seed, where she sells handmade goodies (think adorable children's clothing) and refinished furniture, and I was delighted to be able to share a booth with her. This week was the first night of 9 weeks setting up, selling and tearing down...and it was a huge success!!!
Please forgive the crummy iphone photos
Our booth turned out darling and we both sold well. I'm looking forward to spending our Thursday nights this summer outside, with my BFF, selling Abstract Grace goodies. And the fact that our booth is right across from the homemade waffle cone ice cream booth, and the BBQ guy is a total bonus (and potentially dangerous, lol).
If you're in Northern California, or local, come out and say hi!
June 10, 2011
{embellished kids tank tops}
On a recent trip to Target I was browsing through the sale section of the children's department and found a yellow tank and striped tank on sale in Ella's size for only $1.12 each (can't beat that!). I couldn't pass up such a great deal, so I snagged them and knew I could do something fun with them.
I decided that a simple embellishment of yoyo's would be perfect to jazz them up, and because I have a fabric scrap stash the size of mt. everest yoyo's were a perfect option.
If you've never made a yoyo, here are a few great tutorials on how make them:
And the finished project? Two cute summer tops for Ella! This is also a great project for repurposing thrift store finds, or any clothing/accessory that needs a little extra something.
Subscribe to:
Posts (Atom)